
Applies to
Platform: Snowflake
Deploy the artifacts of a Snowflake project from its Git repository with an Azure DevOps pipeline. The pipeline task of the biGENIUS-X deployment extension installs SnowSQL, replaces the placeholders and runs deploy.ps1. Afterwards every push that changes the folder artifacts deploys the project.
Prerequisites
- The Snowflake target environment is prepared.
- The artifacts are generated and pushed to the repository of the project in Azure Repos.
- The biGENIUS-X deployment extension for Azure DevOps is installed from the Visual Studio Marketplace.
- A Snowflake user for the pipeline, and access to the role
ACCOUNTADMINfor the authentication policy below.
Prepare the repository and Snowflake
- Download the artifacts and enter your values in
replacement_config.json, as described in Replace the placeholders in the artifacts with the Snowflake placeholder values. - Upload this
replacement_config.jsonto the root folder of the feature branch that contains the pushed artifacts, not into the folderartifacts. The next push of generated artifacts replaces the files inartifacts.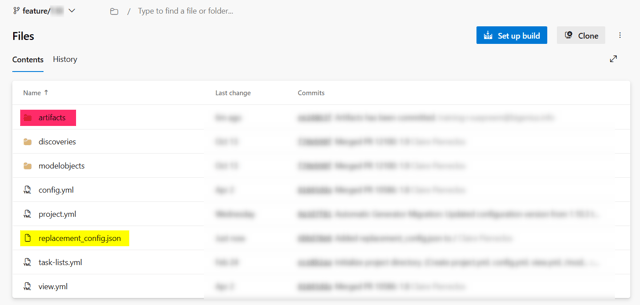
- Merge the feature branch into the main branch, see Start a pull request for a Local Branch.
- In Snowflake, let the pipeline user's tokens bypass the network policy evaluation. By default, Snowflake accepts a programmatic access token only from a user who is subject to a network policy:
USE ROLE ACCOUNTADMIN; CREATE OR REPLACE AUTHENTICATION POLICY <database>.PUBLIC.PIPELINE_TOKEN_POLICY PAT_POLICY = ( NETWORK_POLICY_EVALUATION = NOT_ENFORCED, REQUIRE_ROLE_RESTRICTION_FOR_SERVICE_USERS = FALSE ); ALTER USER <user> SET AUTHENTICATION POLICY <database>.PUBLIC.PIPELINE_TOKEN_POLICY;Here<database>is a database that holds the policy, and<user>is the pipeline user. - Create a programmatic access token for the user and save it; Snowflake shows it only once.
DAYS_TO_EXPIRYsets its validity, 15 days by default and up to 365:ALTER USER IF EXISTS <user> ADD PROGRAMMATIC ACCESS TOKEN BIGENIUS DAYS_TO_EXPIRY = <days>;
Create the pipeline
Variable group
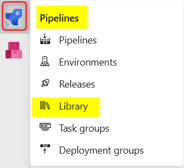
- In Azure DevOps, open Pipelines and choose Library.
- Select + Variable group and enter a name, for example
PIPELINE-SNOWFLAKE.
- Add the variables
SNOWFLAKE_ACCOUNT(the account identifier, for example<organization>-<account>),SNOWFLAKE_USER(the pipeline user) andSNOWFLAKE_PASSWORD(the token). Select the lock icon ofSNOWFLAKE_PASSWORDto make it secret, then save the group.
Pipeline
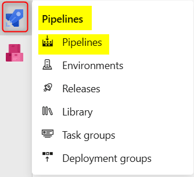
- Open Pipelines, choose Pipelines and select New pipeline.

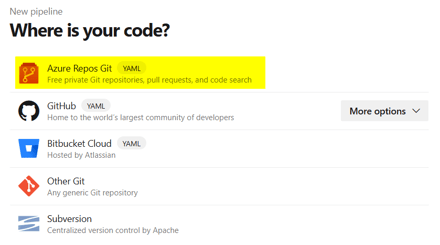
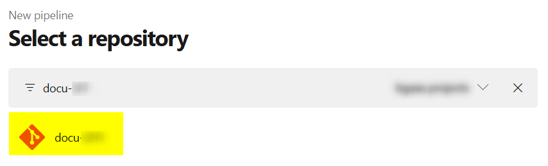
- At Where is your code, choose Azure Repos Git, and at Select a repository, select the repository of the project.
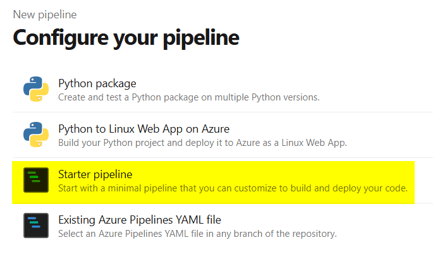
- At Configure your pipeline, choose Starter pipeline.
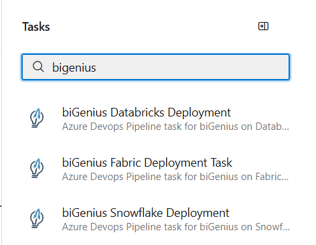
- Select Show assistant and search for
bigenius. The task biGenius Snowflake Deployment, identifierbiGeniusSnowflakeDeployment@1, shows that the extension is available.
- Replace the starter code with this pipeline, with your variable group name:
trigger:
  paths:
    include:
      - artifacts/**

pool:
  vmImage: windows-2025

variables:
  - group: PIPELINE-SNOWFLAKE

steps:
- task: biGeniusSnowflakeDeployment@1
  inputs:
    EnvironmentName: 'DEV'
    ReplacementConfigPath: '../replacement_config.json'
    Account: '$(SNOWFLAKE_ACCOUNT)'
    Password: '$(SNOWFLAKE_PASSWORD)'
    User: '$(SNOWFLAKE_USER)'
The trigger runs the pipeline after every push that changes a file in the folderartifacts, so every push of generated artifacts deploys them. The generatedreplacement_config.jsonnames its environmentDEV, the value ofEnvironmentName.With the default Deployment Options, Generate Drop Table Statements and Generate Drop Load Control Schema are selected. Each deployment replaces every generated table, which deletes its data, and drops the load control schema with all objects in it. Before you deploy to a database that holds data, clear both options in Project Settings and generate the artifacts again.
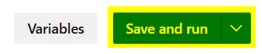
- Select Save and run, then Save and run in the dialog that opens. The pipeline starts.
Check the result
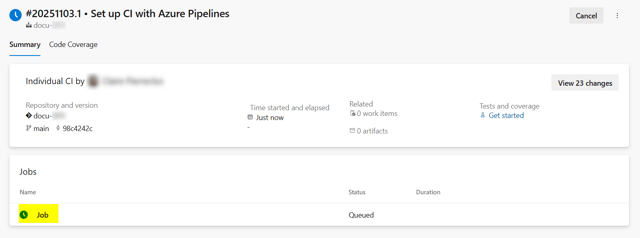
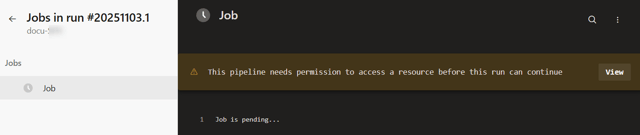
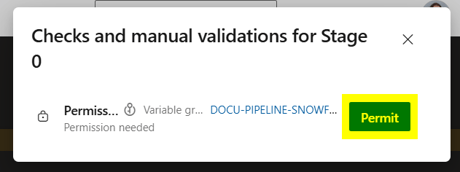
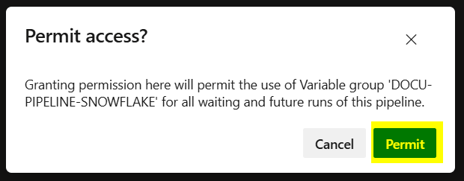
- Open the run and select the job. On the first run, the job waits for permission to use the variable group: select View, then Permit, and confirm with Permit.
- Follow the job. Its task installs SnowSQL, replaces the placeholders in the folder
artifactsand runsdeploy.ps1. The job succeeded when every step shows a green check.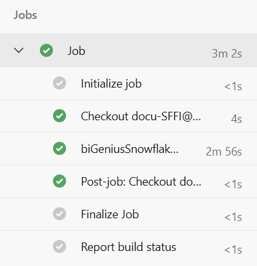
- Check the objects in Snowflake as described in Snowflake - Deployment. With more than one native option in LoadControl Options, the pipeline creates no tasks; deploy the task script as described there.
Failure symptoms and recovery
The job waits for permission
Cause: A new pipeline needs permission to use the variable group.
Fix: Select View and Permit in the job, as in Check the result.
For failures in other steps, see Troubleshoot generation, deployment and load failures.
Related articles
- Previous: Snowflake - Target environment, Generate artifacts, Push the generated artifacts to repository, Replace the placeholders in the artifacts
- Next: Snowflake - Load data - Native Load Control, Snowflake - Load data - Apache Airflow Load Control
- Reference: Snowflake - Placeholder values, Deployment Options (Project)
- See also: Snowflake - Deployment, Start a pull request for a Local Branch, Deploy a Project in production