CI/CD in Azure DevOps is valuable because it automates the build, test, and deployment of your code as soon as you commit, significantly speeding up delivery and reducing the risk of manual errors.
In this article, we will explain how to configure CI/CD for a 1.10 Snowflake Project in Azure DevOps using a pipeline.
Before deploying the Generated Artifacts with an Azure Pipeline, please:
Prerequisites
To deploy all the generated artifacts with an Azure pipeline, please:
Into the downloaded artifacts
Replace the placeholders with the correct values in the replacement_config.json file.
In Azure DevOps
- Upload the file to the root folder of the Git Feature branch containing the pushed artifacts:
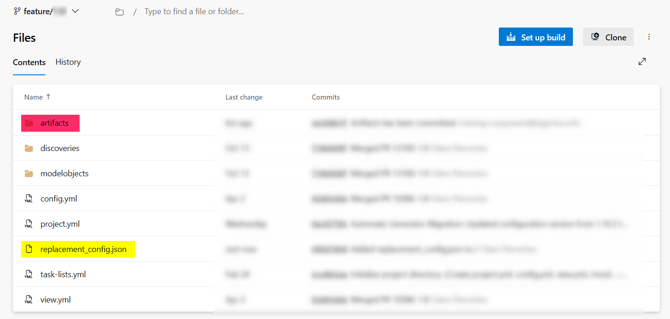
It is very important not to upload the updated replacement_config.json file directly to the artifacts folder.
When you will generate and push the artifacts again, it will be erased with a clean one.
- Merge the changes from your Feature Branch to your Main Branch (See Start a pull request for a Local Branch)
- Install the biGENIUS-X deployment extension for Azure DevOps from the Visual Studio Marketplace
In Snowflake
- Create a PAT (Personal Access Token) for the Snowflake User you will use to deploy the code by executing the following statement:
USE ROLE ACCOUNTADMIN;


ALTER USER IF EXISTS [your_snowflake_user] ADD PROGRAMMATIC ACCESS TOKEN BIGENIUS;
- Copy and save carefully the generated PAT
- Update the network policies of the Snowflake User (See here why) by executing the following statement:
USE ROLE ACCOUNTADMIN;

CREATE OR REPLACE AUTHENTICATION POLICY [your_target_database].PUBLIC.DOCU_TOKEN_POLICY
  PAT_POLICY=(
    NETWORK_POLICY_EVALUATION = NOT_ENFORCED
  );

ALTER USER [your_snowflake_user] SET AUTHENTICATION POLICY [your_target_database].PUBLIC.DOCU_TOKEN_POLICY;
Create variables in a variable group
In Azure DevOps, create a variable group:
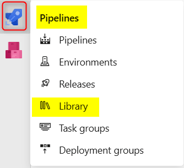
- Open the Pipelines menu and choose the Library option:
- Click on the + Variable group button:

- Enter a Variable Group Name:
- DOCU-PIPELINE-SNOWFLAKE in this example
- Add three variables:
- SNOWFLAKE_ACCOUNT: the Snowflake account where the target database is located
- Example: org12345.eu-west-1
- SNOWFLAKE_PASSWORD: the PAT you created in the prerequisites
- SNOWFLAKE_USER: [your_snowflake_user]
- SNOWFLAKE_ACCOUNT: the Snowflake account where the target database is located
- Save the variable group
Create the CI/CD pipeline
In Azure DevOps, create a pipeline:
- Open the Pipelines menu and choose the Pipelines option:

- Click on the New pipeline button:

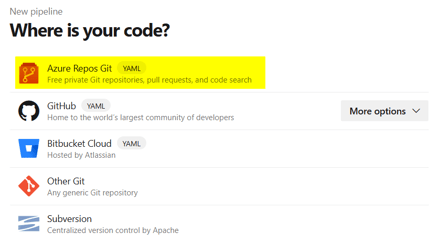
- Where is your code?: Choose Azure Repos Git
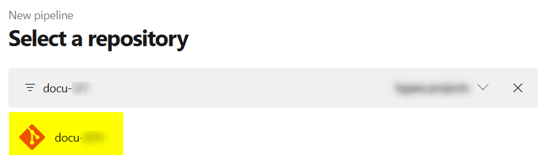
- Select a repository: search, then select your concerned Git repository
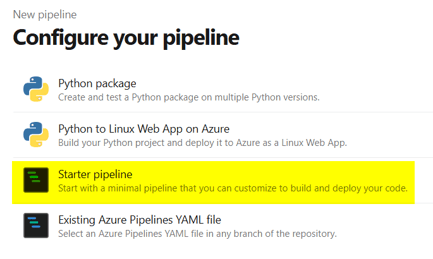
- Configure your pipeline: select Starter pipeline
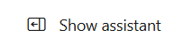
- Click on the Show assistant button to check that you correctly have access to the biGENIUS-X deployment extension for Azure DevOps
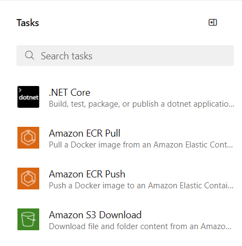
- Search for bigenius in the available tasks:
- You must have 3 available tasks:
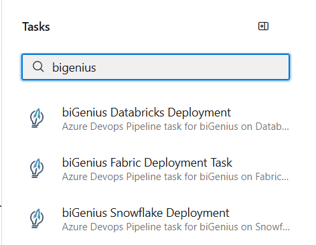
- In this article, we will use the biGENIUS Snowflake Deployment task
- Its identifier is biGeniusSnowflakeDeployment@1 (we will use it in the following pipeline code)
- Search for bigenius in the available tasks:
- Update and copy the following code into your pipeline:
# Starter pipeline
# Start with a minimal pipeline that you can customize to build and deploy your code.
# Add steps that build, run tests, deploy, and more:
# https://aka.ms/yaml

trigger:
  paths:
    include:
      - artifacts/**

pool:
  vmImage: windows-2025

variables:
# Update here with your variable group name
  - group: DOCU-PIPELINE-SNOWFLAKE

steps:
- task: biGeniusSnowflakeDeployment@1
  inputs:
    EnvironmentName: 'DEV'
    ReplacementConfigPath: '../replacement_config.json'
    Account: '$(SNOWFLAKE_ACCOUNT)'
    Password: '$(SNOWFLAKE_PASSWORD)'
    User: '$(SNOWFLAKE_USER)'
- Click on the Save and run button:
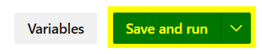
- Click again on the Save and run button
- The pipeline starts
Follow a pipeline run
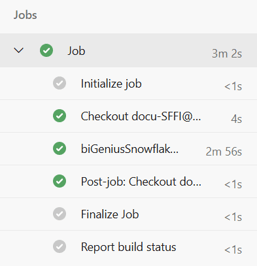
To follow a pipeline run, click on the Job: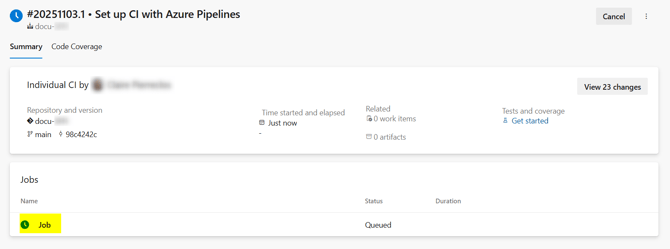
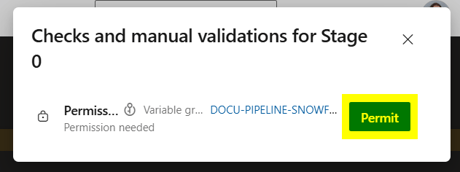
The first time you run a new pipeline, permission to access the variable group is needed:

- Click on the View button
- Then click on the Permit button:
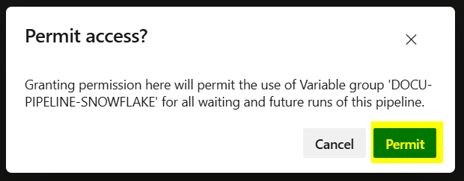
- Click again on the Permit button:
- The Job is then launched. The main steps are:
- Snowsql installation
- Replacement of the placeholders in the generated artifacts (artifact folder in your Git repository)
- Deployment itself by executing the deploy.ps1 file
- The job is done
If you selected several LoadControl Options in your Project as:
The Load Control will not be deployed thanks to the deploy.ps1 script as it can't choose for you.
Please deploy the Load Control manually by executing, depending on the LoadControl Options Property values:
- Depending Tasks: the XXXX_depending_tasks.sql script
- Near-realtime Tasks: the XXXXX_tasks_streams.sql script
- Stage-Driven Tasks: the XXXXX_stage_driven_tasks.sql script and XXXXX_stage_driven_tasks_set_loglevel.sql
- You should now have the Target system created with the structure of future data and the Load Control structure:
| Tables | Views |
|
|
|
|
Procedures |
Tasks |
|
|
|


You can now load the data with the following load controls: